Perhaps the easiest and most frequent small-scale renovation for a home is painting.
You can paint anything; walls, shutters, cabinets, trim, ceiling, furniture, the list goes on. You could opt to hire a professional – and if you have the money but not the time for a paint project that may be your best bet. But if you have a spring break or 3-day holiday weekend coming up and want to transform a bit of your home into something fresh and new, it is completely within anyone’s skill set to paint anything the heart desires. Before you do, here’s some help with each project so you get the absolute best results.
Small Things
Shutters, end tables, book cases, wicker furniture for your patio. These are just a few pieces that might be in your home and perfect for painting. Before you jump straight to painting there are a few things you’ll need as well as steps to take.
- Materials You’ll Need:
- Dropcloth. Cover the floor (in a space larger than your item) to avoid spills or drips on the floor. Plastic dropcloths are a few bucks at any home improvement store.
- Sandpaper, Medium Grade. Unless your piece is plain, virgin wood, you’ll want to sand even finished furniture to create the perfect canvas for your paint.
- Primer. Even if you’re working with unpainted, plain wood, prime it first. If you want a more dramatic color, a deep gray can enrich lucious jewel tones more than a white primer would.
- Small Screwdriver. If there are any handles or other such fixtures you’ll want to remove them before painting to get an even coat without ruining your hardware.
- Seal. Whether you’re painting for an outdoor or indoor accessory, make sure you have the correct seal that will protect against the correct elements.
- Process:
- Remove hardware such as handles or hinges.
- Clean the piece of any stains or large debris.
- Sand every area you intend to paint.
- Clean the piece of dust after sanding with a damp cloth.
- Prime. You’ll want the primer to be completely dry before putting on the color. Humidity and temperature can affect drying times, but you’ll need at least 3 hours. If you can prime and let it sit overnight, even better.
- Paint. First coat, wait an hour, then apply the second coat. Paint in an N or Z pattern to avoid lines in your paint. Paint each coat in the same order you painted the first coat.
- Finish. You can always add a distressed glaze with an antique or speckled finish. Whether or not you’ll want to finish with a durable seal to protect your hard work.
- Replace hardware after 24 hours of drying.
The Room
No, not the silver screen gem that is Tommy Wasseau’s masterpiece. Painting a room is a great way to quickly update your home. You can paint a room within a weekend. Here’s what you’ll need:
- The Right Tools
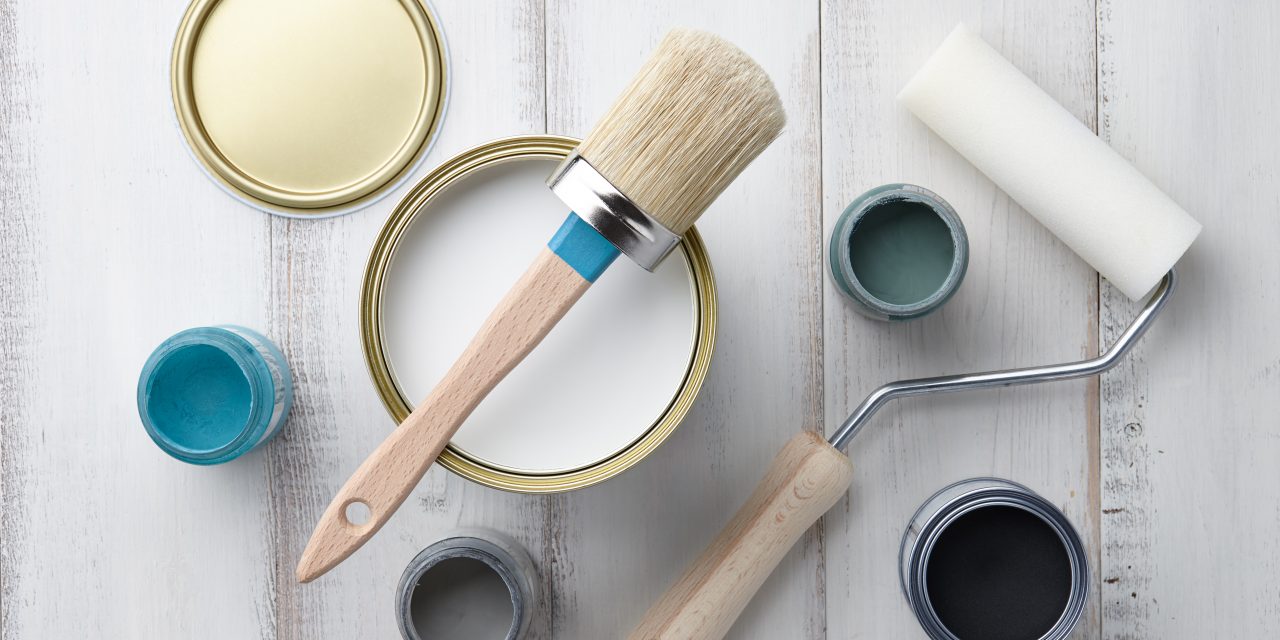
- Angled Brushes 2” – 2 ½” wide to cut around trim, edges and reach into corners.
- Rollers – the texture of your walls will determine which nap you buy. Coarsely textured walls need thick naps (fluff) whereas smooth walls need very little.
- Paint Trays and Liners – If you don’t already have a paint tray, buy a good quality metal tray and grab cheap liners so you can use the tray over and over again.
- Dropcloths – plastic will be just fine, but if you want to invest in a more durable cloth, go for it.
- Tape – Definitely go for the professional grade tape to avoid any bleed through.
- Extension Handles for your rollers, especially if you have high walls or are tackling a ceiling.
- The Right Time
- Weather affects dry times for paint. If it rains the weekend you plan to paint or a cold front moves in, you can still accomplish your task, you’ll just want to increase drying time, especially between primer and color.
- The Right Prep
- Move All the small things out of the room and large furniture to the middle and cover with a drop cloth. Do this all the night before so you can rise and shine some new color and light on your new room.
- Tape around your trim the night before, as well. Especially if you have to make time for weather, getting the prep work done the night before will make it possible to get primer and two coats of paint on in one day.
- Let it all dry properly, overnight, before moving everything back to its original place in the room.
The Outside
This is actually one area where we recommend hiring a professional. If you have a single story home painting the exterior of your house is doable. But if you have a second story you’ll need scaffolding and other tools to achieve your makeover. Because the materials are so expensive and the area is substantially larger than any one room in your house will be, invest in a professional painter.
Always buy good quality paint – and the right paint – for the job. Paint your edges first with the brush and then fill them in with the roller in an N pattern to avoid lines in the paint. Do one wall at a time to avoid the edges completely drying before filling them in. If you take your time to do it right from the start, you’ll end up with a new look that is cost effective and so beautiful people will think you did hire a professional. Don’t worry. It’ll be our little secret.


