If you’ve ever spent any amount of time on Pinterest, you know that there is a whole world of possibilities when it comes to DIY. Some DIY projects are simple, practical, and basically begging you to do them. Others are…. Well, they are projects. For example, it’s great that instead of tossing your empty toilet paper rolls you can paint them and use them to hold hair elastics or crafting string. But there’s only so much string. Recycle that stuff. One thing that is worth doing is flipping old, yet beloved, furniture: ie an old coffee table. Maybe it’s that thrift store steal dining room table and chairs you found for your first apartment in college that you still use for game nights. Whatever it is, if it has a use in your home but it’s a little outdated, get it up to speed with this easy furniture flip.
The easiest pieces to tackle are wood in good condition without needing major refurbishments. Fixing a wobbly table and chairs isn’t impossible for the Average Joe, but it also requires tools, skill, and a workspace not everyone has at their disposal. That’s a job better left to the professionals. If it’s worth the repair, flip it when it’s fixed. Basic Wood to Antique Chic. Let’s get started, shall we?
Tools
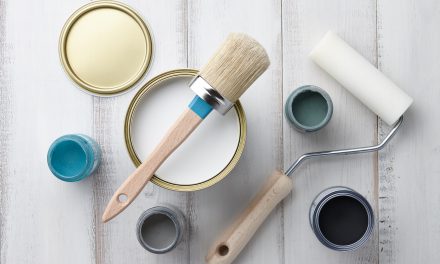
Like with any job, you’ll need the right tools to accomplish this look. Luckily, you may already have most of what you need on hand and the things you will need are not very expensive, either. For this specific project you’ll need the following:
- Sand Paper – 40 – 120 grit for stripping and 220 – 320 grit for sealant
- Screwdriver – to remove hardware
- Paint Primer
- Paint Color
- Antique Glaze – Valspar has a very easy to use product
- Sealant – polyurethane or polycrylic
- Drop Cloth
- Paint Brushes – angled for paint, straight edge natural hair or sponge for sealant
- Gloves
- Rags
Process
You don’t need to be a master Wood Worker, or even a very experienced one to handle this job. You really just need time and determination.
- Step 1: Clean your piece of all gunk and grime. You’re going to sand it, but start with a clean slate for the best results.
- Step 2: Remove Hardware. Keep the screws with the hinges or handles in a small cup so you don’t lose anything. Nothing worse than being ready to put the finishing touches on a coffee table and realizing you’ve misplaced your screws.
- Step 3: Sand. This is the most time consuming part of the whole entire project. And the messiest. Aaaand the most exhausting. You’re going to get dust everywhere, and depending on the size, shape, and intricacies of the piece it will take effort. But don’t skimp on this step! You want to remove any finish or stain that was on the wood so you can start with a clean, smooth surface that’s ready for what’s next.
- Step 4: Clean the piece and the area. You don’t want any dust getting in your paint or primer. Dust off the entire piece of furniture with both damp and dry rags. Then sweep or vacuum whatever is left on the floor. Go back and wipe down the furniture again in case the act of sweeping kicked up any extra dust, finding its way back to the wood.
- Step 5: Prime. Always, always, always, prime your wood. This lays the best ground work for your color to come out true and vibrant. Lay down the drop cloth and cover every bit of surface with primer. Then allow 1 hour to dry before applying the color.
- Step 6: Color. Just like painting your walls, start in the corners and on the outer edges and work your way in with an ‘N’ or ‘Z’ pattern to create a smooth finish that’s free of lines. Wait 1 hour before applying the second coat. Always apply two coats.
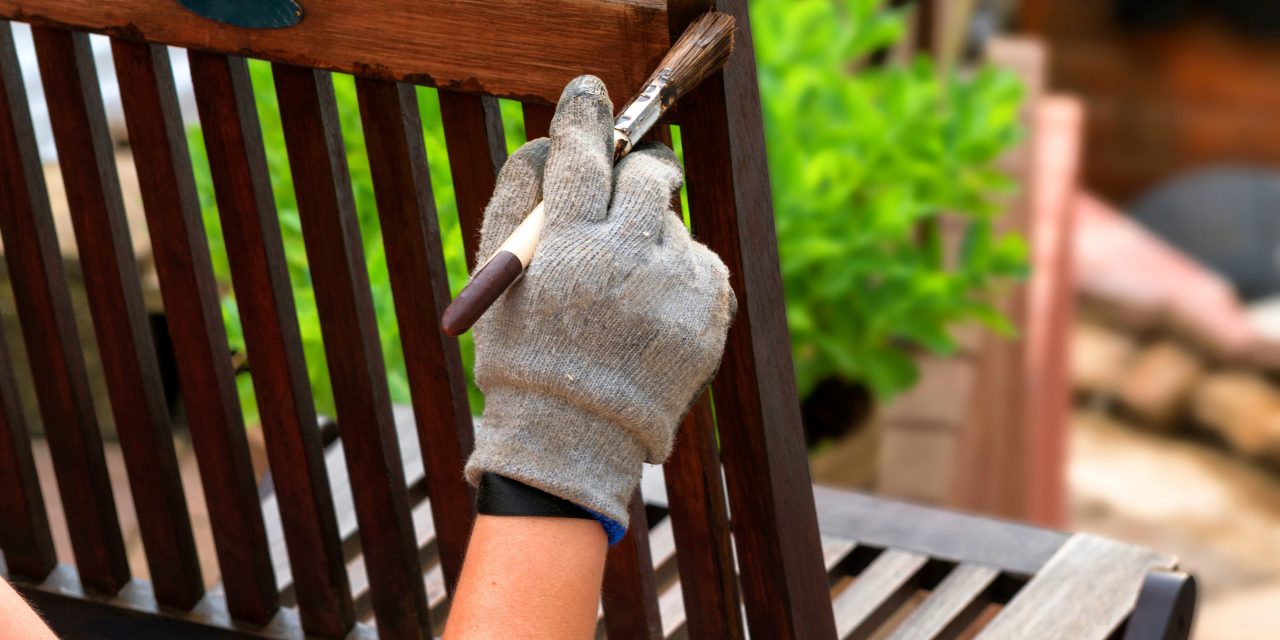
- Step 7: Antique. There are a multitude of ways to get the antique look on wood furniture. But the easiest is to simply use an Antique glaze. The Valspar brand is as simple as it gets. Allowing a few hours before applying the glaze, you simply don your gloves, dip your rag in the glaze, and wipe it on. You can go as heavy or as light as you wish.
- Step 8: Seal. Check the label of your sealant for specific instructions as each brand is unique. But the basics are: Sand with 220 grit, dust/clean, and then seal applying in smooth and straight strokes from edge to edge. Let it dry, lightly sand, clean, and apply. Repeat this process up to 3 times sanding between coats but not after the final coat.
- Step 9: Reassemble the hardware. After giving at least 24 hours for the piece to dry and set you can now put back any handles, hinges, or decorative elements that were removed at the beginning.
- Step 10: Enjoy! Put it back in its place and admire the beauty your hard work just made happen. Go you!
This DIY project will take a solid amount of work. It can be done over a long weekend or spread out over time as you’re able. But it’s definitely worth doing. You get to bring new life into a piece that’s been with you from the start and served you well. With a little elbow grease you’ll have a beautiful, “new” look to your home that’s sure to spark some joy in your life.


